Classic Aioli Sauce Recipe
Highlighted under: Global Kitchen Creations
I’ve always had a weakness for dipping sauces, but aioli holds a special place in my heart. This creamy, garlicky delight elevates any dish it touches, and making it from scratch is easier than you might think! With just a few simple ingredients, I can create a fresh and flavorful aioli that enhances everything from grilled vegetables to seafood. This recipe is my go-to for gatherings, as it’s always a hit and adds a gourmet touch to any meal. You’ll wonder why you waited so long to make it yourself!
When I first tried making aioli at home, I was surprised by how straightforward the process was. This recipe taught me the importance of using fresh garlic and quality olive oil, both of which really enhance the flavor. Slowly emulsifying the oil into the egg yolk creates that signature creamy texture that store-bought versions often lack. It’s a simple technique that pays off in every batch I make.
One of my favorite ways to enjoy aioli is with crispy roasted potatoes. The garlic notes pair perfectly with the earthiness of the potatoes, and the creamy consistency is just the right contrast to their crunch. I encourage you to experiment with various flavor additions like lemon zest or herbs to make this aioli all your own!
Why You'll Love This Aioli
- Rich garlic flavor enhances any dish
- Creamy texture that pairs beautifully with vegetables and meats
- Quick and easy to make from scratch
Understanding the Emulsification Process
Emulsification is the key to achieving that luscious consistency in aioli. It involves combining two liquids that typically don't mix—like oil and egg yolks. Start by whisking the egg yolks, garlic, and lemon juice together in a mixing bowl until the mixture turns light and frothy. This initial step sets up a stable base for the emulsification process, allowing the oil to blend smoothly without separating.
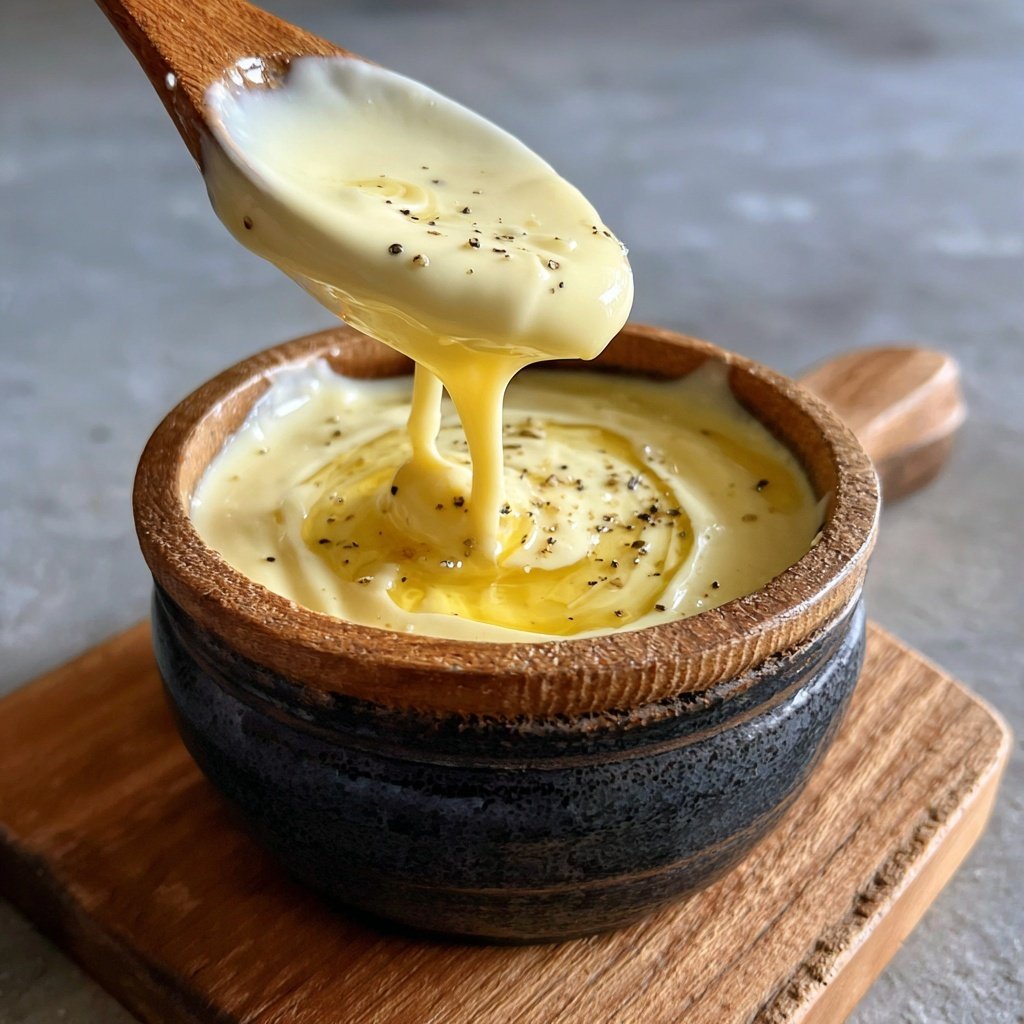
When adding the olive oil, it’s vital to do so in a slow, steady stream while continuously whisking. Going too fast can lead to a broken emulsion, resulting in a watery mixture. Aim for a medium pace, and you’ll see the aioli gradually thicken. You'll know it's right when the color shifts to a pale golden and the texture becomes creamy and glossy, perfect for dipping.
Storage and Make-Ahead Tips
If you're planning to make aioli for an event, you can prepare it up to two days in advance. Store the aioli in an airtight container in the refrigerator, allowing the flavors to meld beautifully over time. Just ensure to give it a good stir before serving, as it may thicken slightly in the fridge. You can also add a splash of water or lemon juice if it’s too thick.
While homemade aioli is best enjoyed fresh, you can freeze it for longer storage. Portion the aioli into ice cube trays and freeze until solid. Once frozen, transfer the cubes into a zip-top bag. When you're ready to use it, simply thaw a cube in the refrigerator overnight. This makes it a great option for quick dinners when you need a flavorful dip or spread.
Flavor Variations and Serving Ideas
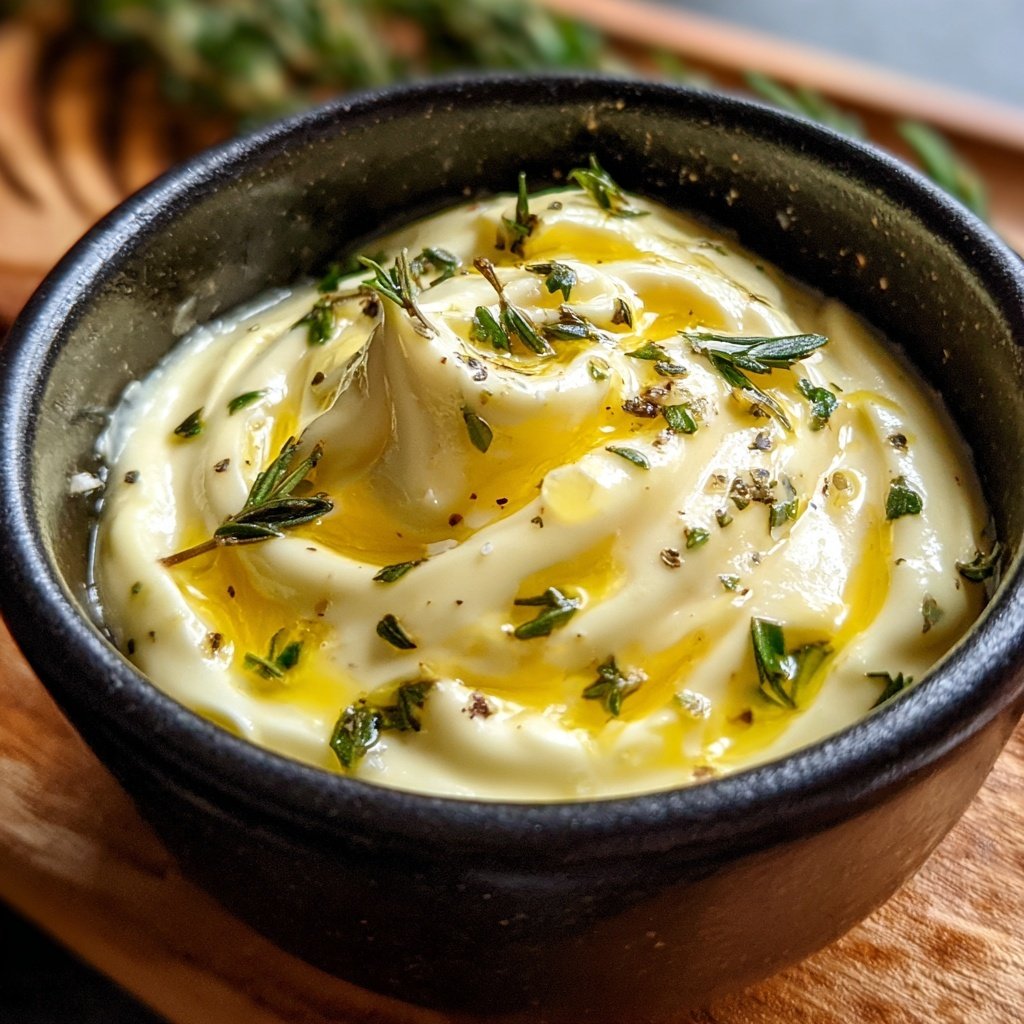
Aioli is incredibly versatile. To twist up its flavor, consider infusing it with additional ingredients like fresh herbs—basil, dill, or parsley can add an exciting dimension. Spicing it up with smoked paprika or chipotle can result in a smoky, flavorful aioli that elevates grilled meats or seafood. A teaspoon or two of Dijon mustard can also add a nice zing and depth to the sauce.
When serving aioli, think beyond just the traditional vegetable or seafood pairing. It makes an excellent spread on sandwiches or wraps, bringing creaminess and flavor to otherwise simple dishes. You can also use it as a dip for fries or a drizzle on grain bowls for an extra touch of gourmet flair. With these ideas, your aioli can shine in various culinary contexts.
Ingredients
Gather the following ingredients to make this classic aioli sauce:
Ingredients
- 2 large egg yolks
- 2-3 cloves garlic, minced
- 1 cup extra virgin olive oil
- 1 tablespoon lemon juice
- Salt to taste
Make sure all your ingredients are at room temperature to ensure the best emulsion.
Instructions
Follow these steps to make your aioli:
Prepare the Ingredients
In a mixing bowl, combine the egg yolks, minced garlic, and lemon juice. Whisk them together until the mixture is smooth and slightly pale.
Emulsify the Mixture
While whisking, gradually add the olive oil in a thin stream. It’s crucial to do this slowly at first to allow the ingredients to emulsify properly. Continue whisking until all the oil is incorporated and the aioli is thick and creamy.
Season
Add salt to taste and adjust the flavor with more lemon juice or garlic, as desired. If the aioli is too thick, you can whisk in a tiny bit of water to achieve your preferred consistency.
Serve
Transfer your aioli to a serving bowl and refrigerate it for at least 30 minutes to let the flavors meld. Serve with fresh vegetables, seafood, or spread it on sandwiches.
Feel free to customize your aioli by adding fresh herbs or spices to match your dish.
Pro Tips
- For a vegan version, substitute the egg yolks with aquafaba (the liquid from canned chickpeas).
Troubleshooting Common Issues
If your aioli doesn't emulsify and remains watery, it may be due to adding the oil too quickly. To salvage it, try adding a teaspoon of warm water to the mixture and whisking vigorously. If that doesn't work, you can start with a new egg yolk in a clean bowl and slowly whisk in the broken aioli to create a stable emulsion.
Another common issue is a garlicky flavor that's too overpowering. If you find it too strong after preparation, mix in a bit of plain yogurt or sour cream to mellow the flavor. Not only will this temper the garlic, but it will also make the aioli creamier.
Ingredient Substitutions
While extra virgin olive oil is the best choice for a rich flavor, you can substitute it with avocado oil or grapeseed oil for a milder taste. Just keep in mind that the flavor profile will change slightly, potentially affecting the overall taste of your aioli. If you're looking for a lighter option, consider using only one egg yolk and one whole egg to balance richness without sacrificing texture.
For those with dietary restrictions, vegan aioli can be made by replacing egg yolks with aquafaba (the liquid from canned chickpeas). It whips up to a similar texture and will still allow for the delicious garlic flavor to shine through. Just remember to adjust the seasoning as needed, since aquafaba has a different taste compared to egg yolks.
Questions About Recipes
→ Can I make aioli without eggs?
Yes, you can use aquafaba or substitute with mayonnaise.
→ How long will aioli last in the fridge?
Aioli can last about one week in the refrigerator, kept in an airtight container.
→ What can I serve with aioli?
Aioli pairs well with grilled meats, seafood, roasted vegetables, or as a sandwich spread.
→ Can I use other oils for aioli?
While olive oil is traditional, you can use avocado oil or light vegetable oils for a milder flavor.
Classic Aioli Sauce Recipe
Created by: Naomi Clarke
Recipe Type: Global Kitchen Creations
Skill Level: Beginner
Final Quantity: 1 cup
What You'll Need
Ingredients
- 2 large egg yolks
- 2-3 cloves garlic, minced
- 1 cup extra virgin olive oil
- 1 tablespoon lemon juice
- Salt to taste
How-To Steps
In a mixing bowl, combine the egg yolks, minced garlic, and lemon juice. Whisk them together until the mixture is smooth and slightly pale.
While whisking, gradually add the olive oil in a thin stream. It’s crucial to do this slowly at first to allow the ingredients to emulsify properly. Continue whisking until all the oil is incorporated and the aioli is thick and creamy.
Add salt to taste and adjust the flavor with more lemon juice or garlic, as desired. If the aioli is too thick, you can whisk in a tiny bit of water to achieve your preferred consistency.
Transfer your aioli to a serving bowl and refrigerate it for at least 30 minutes to let the flavors meld. Serve with fresh vegetables, seafood, or spread it on sandwiches.
Extra Tips
- For a vegan version, substitute the egg yolks with aquafaba (the liquid from canned chickpeas).
Nutritional Breakdown (Per Serving)
- Calories: 150 kcal
- Total Fat: 16g
- Saturated Fat: 2g
- Cholesterol: 110mg
- Sodium: 90mg
- Total Carbohydrates: 1g
- Dietary Fiber: 0g
- Sugars: 0g
- Protein: 2g